Before You Shoot
St. Nicholas Church is one of the most photogenic Byzantine buildings in Turkey — but also one of the most challenging. The interior is dark, the spaces are tight, flash is prohibited, and tour groups can fill the nave in minutes. This guide gives you six specific spots to prioritise, with practical recommendations for timing, equipment, and composition at each one.
Flash photography is strictly prohibited throughout the church to protect the 11th-century frescoes. A tripod and fast lens are far more useful than a flash anyway. For architectural and historical context on what you're photographing, see the Architecture & Frescoes article.
The Six Spots
Shoot from street level looking down into the church complex. The ~3 metre difference between modern street level and the church floor is one of the most dramatic visual features — capture it with a human figure for scale. Morning golden hour lights the east-facing façade beautifully. Include the bell tower (1862 Russian addition) and the modern protective canopy for context. Wide-angle essential to capture the full complex.
The synthronon (semicircular bishop's seat) is the emotional centrepiece of the church — Bishop Nicholas sat here 1,700 years ago. Shoot from the nave looking east into the apse for a symmetrical composition: the curved stone bench, green granite Corinthian columns, and the half-dome above. Low angle emphasises the grandeur. Tripod is non-negotiable here — exposure times will be long even at high ISO.
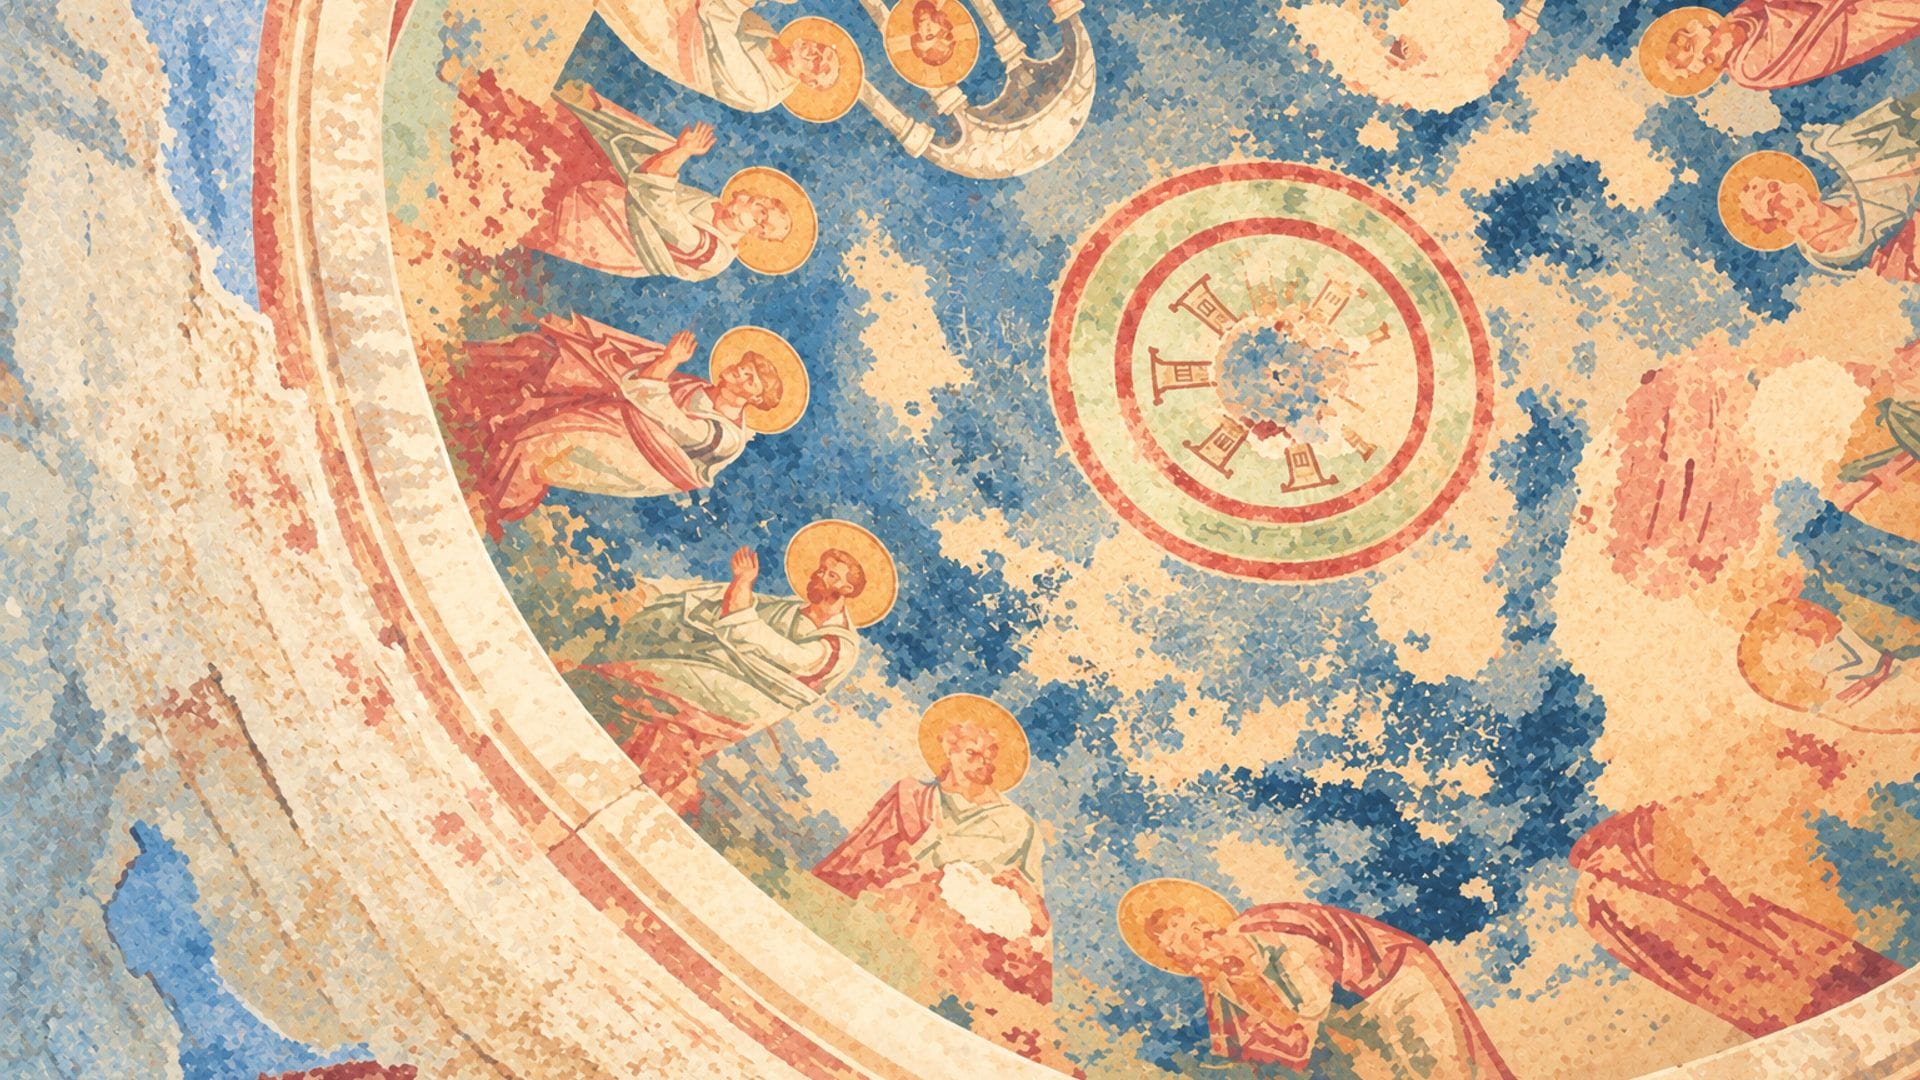
The northeast annex fresco gallery contains the only surviving Nicholas life-cycle frescoes in Turkey — the most important artistic treasure in the building. It's dark, narrow, and challenging, but deeply rewarding. Each scene is a separate composition: plan multiple frames rather than trying to capture everything in one shot. A medium telephoto (50–85mm) lets you isolate individual scenes. Patience and a tripod are more important than any particular lens. Arrive before 10:00 to avoid tour group congestion in this small space.
The opus sectile marble inlay panels are best shot from directly above or at a shallow angle. Use a shallow depth of field to isolate a single medallion pattern from its surroundings. Midday provides the best natural light from the church windows. The circular designs in green, red, and white marble are extraordinarily photogenic at close range. If the floor is damp (common in the below-ground church), the reflections add atmosphere.
The broken marble sarcophagus in the south aisle is the most visited feature of the church. You'll be shooting through or past a plastic barrier — include the barrier in the frame rather than trying to avoid it. It tells the story of protection and ongoing conservation. Side light reveals the texture of the broken marble. The 1087 damage is clearly visible — the shattered lid and exposed interior are powerfully expressive subjects.
Demre's town square tells the entire Nicholas story in statues — the bronze Orthodox bishop, the various modern interpretations. The best single frame captures two different representations side by side, summarising 1,700 years of cultural transformation in one composition. Street photography approach: include souvenir shops, local life, and the contrast between ancient legacy and modern tourism. A 35mm lens and a good eye are all you need.
Gear Quick Reference
| Lens | Best For | Spots |
|---|---|---|
| 16–24mm wide-angle | Exterior panorama, apse interior | #1, #2 |
| 50–85mm telephoto | Fresco details, floor patterns | #3, #4 |
| 35–50mm standard | Sarcophagus, street photography | #5, #6 |
| Tripod (travel weight) | All interiors, essential for frescoes | #2, #3 (required) |
| 24–70mm f/2.8 zoom | Single-lens solution covering most situations | All spots |
Modern smartphones handle low-light better every year, but the church interior will push even the best phones to their limits. Night mode helps significantly for the apse and frescoes. For the exterior and square, a smartphone is perfectly adequate. The most important “equipment” for any camera is arriving early — before 10:00 — when the church is quiet and you have space to compose.
The hardest and most rewarding shot in this church is in the northeast fresco gallery — dark, narrow, and the wall paintings are over 1,000 years old. Tripod, wide-angle, patience. The best results come early in the morning, before the tour groups arrive. Every time I go in there, I notice a detail in the frescoes I hadn't seen before. Bring more memory cards than you think you'll need.
General Tips
Arrive early. The church opens at 08:30. Tour buses typically start arriving around 10:00. The 90-minute window between opening and the first groups is your best opportunity for clean compositions without people in frame (unless you want them for scale).
Adapt to the darkness. Give your eyes 5–10 minutes to adjust after entering. What initially looks like impenetrable shadow resolves into visible frescoes, floor patterns, and architectural detail. Your camera needs the same adjustment — review your first shots carefully and adjust ISO/exposure before committing to a long session.
Watch the barriers. Excavation areas and fragile zones are protected by barriers that change position as work progresses. These aren't obstacles to your photography — they're part of the story. A photo of the excavation site with its barriers and walkways tells visitors what to expect.
Respect the space. This is a burial church and an active pilgrimage site. Some visitors are praying, not photographing. Be discreet, avoid blocking access to the sarcophagus, and never touch frescoes or stone surfaces to “improve” your shot.
